

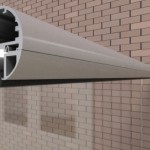
Balcony Orbit Balustrade Installation Instructions
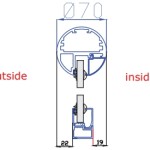
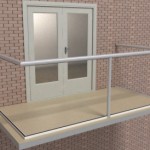
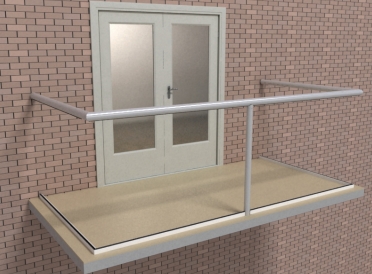
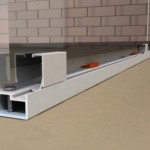
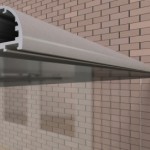
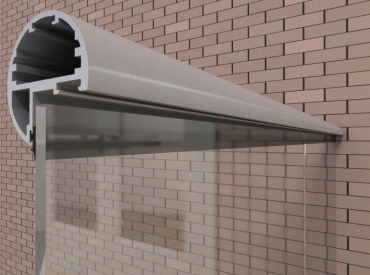
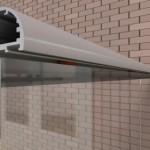
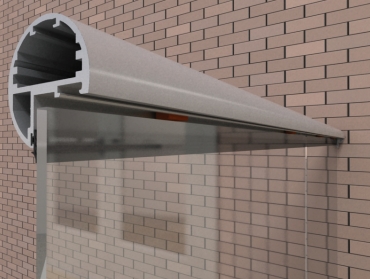
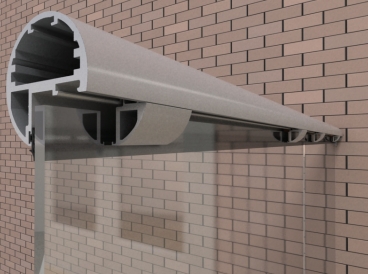
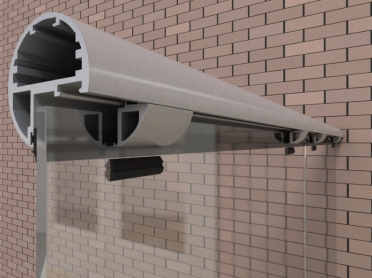
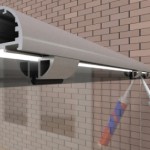
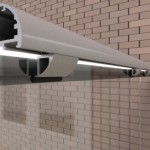
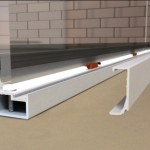
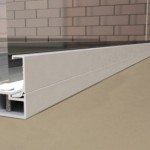
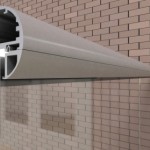
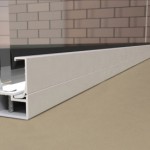
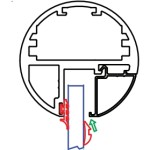
Balcony Orbit balustrade is a 70mm diameter circular handrail system that provides maximum handrail spans between points of support.
The Orbit system handrail can be supplied with an internal reinforcing bar that strengthens the handrail in order to enable the handrail to span more.
More about Orbit Balustrade handrails >>
Installation insructions
1. Check you have all the parts of the order.
2. Check the height of the glass
3. Check the height of the posts
4. Check both these heights against the required height on site making sure they are correct before assembling
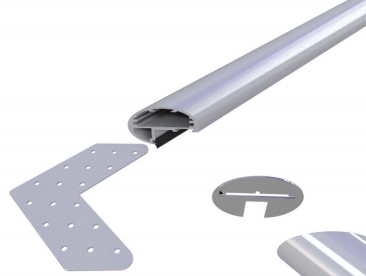
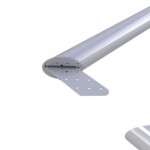
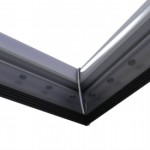
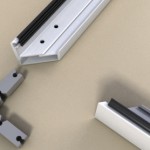
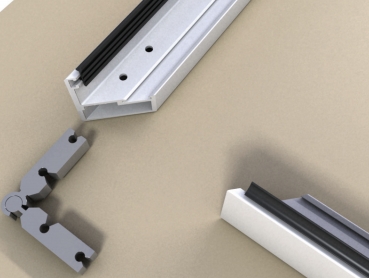
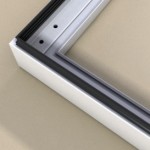
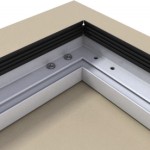
5. Prepare to assemble the handrail corner
6. Slide corner joint plate into one of the handrails
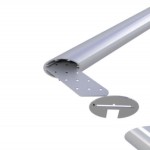
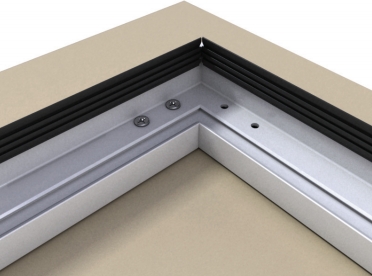
7-8. Tighten the screws
-
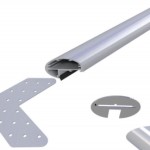
- Prepare to assemble the handrail corner
-
- Slide corner joint plate
-
- Tighten the screws
-
- Tighten the screws
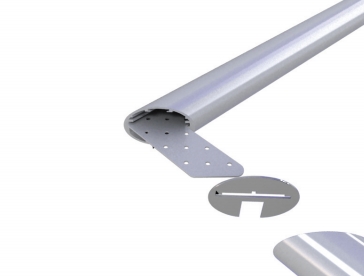
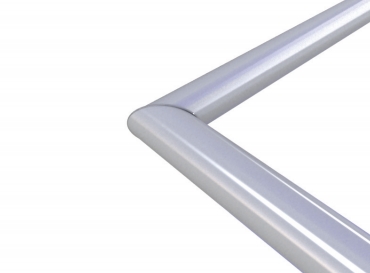
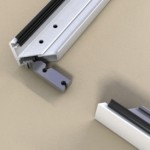
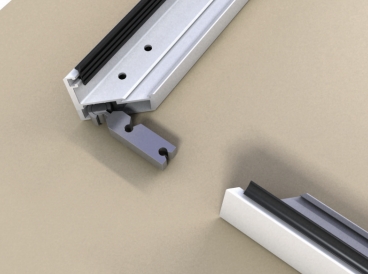
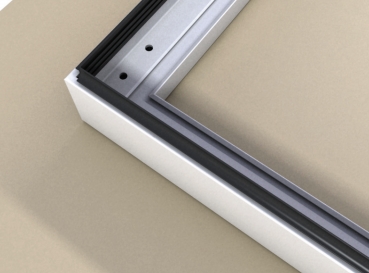
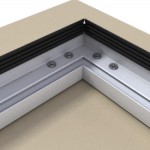
9. Slide mitre plate onto corner plate
10. Bring handrail to butt up to mitre plate
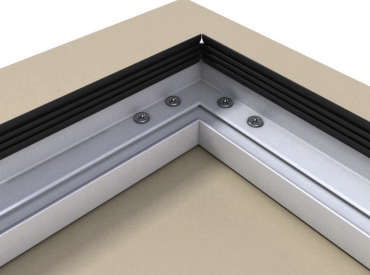
11. Tighten all screws
12. Join all handrail parts together.
-
- Slide mitre plate onto corner plate

-
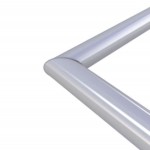
- Bring handrail to butt up to mitre plate
-
- Tighten all screws

-
- Join all handrail parts

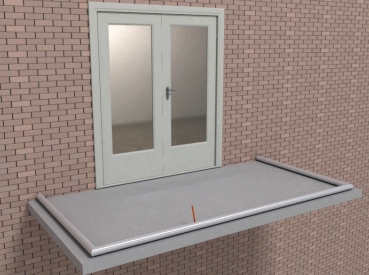
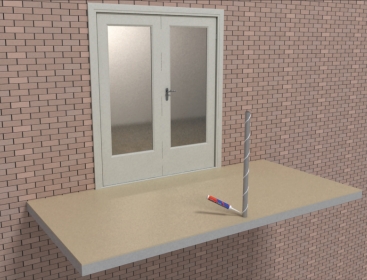
13. Place handrail on the floor in position to make sure the dimension and shape fit
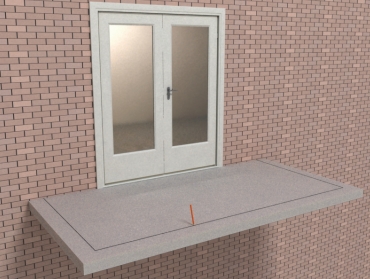
14. Mark lines for later positioning of bottom track
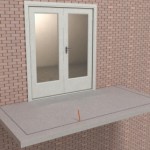
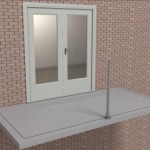
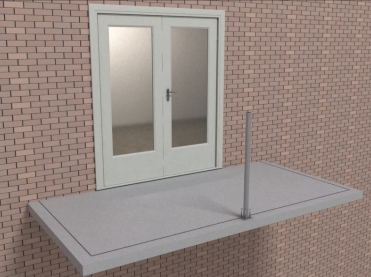
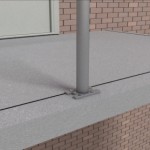
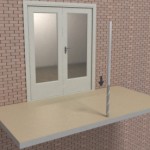
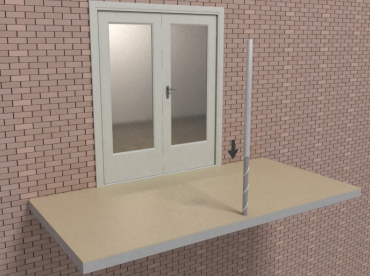
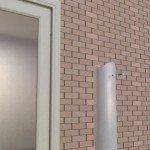
15. Position the primary steel post in the correct position
16. Fix the post firmly to the structure
-
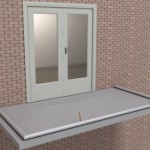
- Place handrail on the floor
-
- Mark lines for later positioning
-
- Position the primary steel post
-
- Fix the post to the structure
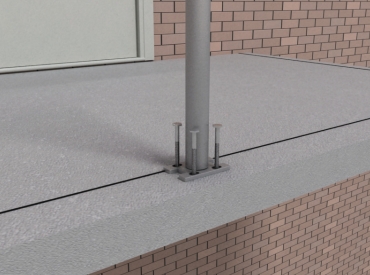
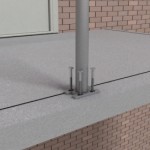
17. Use the appropriate fixings (Post fixing can be done at primary stage by locating the posts using measurements)
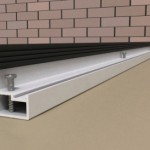
18. Finish the flooring, decking, screed,floor finish etc. to the required height.This should conceal the base plate and bolts
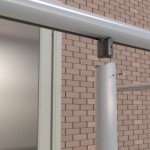
19. Apply a thick bead of silicone sealant around the primary steel post in a spiral fashion
20. Slide the system cover post onto the primary post
-
- Use the appropriate fixings

-

- Finish the flooring

-
- Apply a thick bead of silicone sealant around the primary steel post
-
- Slide the system cover post onto the primary post
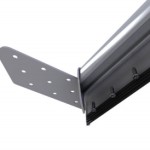
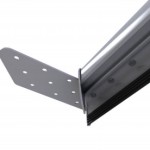
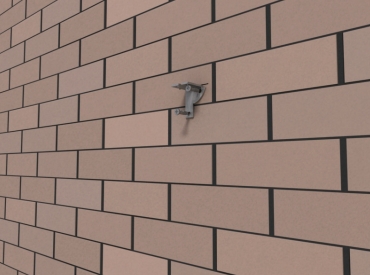
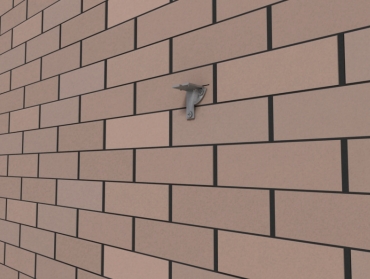
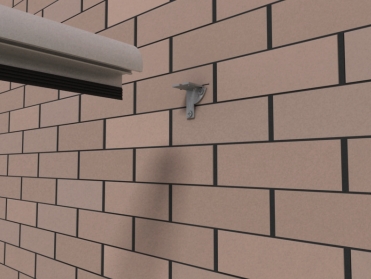
21. Using a level mark the position required to fix the wall fixing bracket.
22. Use the appropriate fixings.
23. Secure the wall bracket to the wall.
24. Bring the handrail into position
-
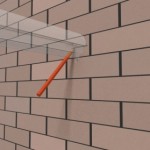
- Mark the position to fix the wall bracket

-
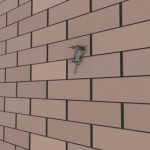
- Use the appropriate fixings
-
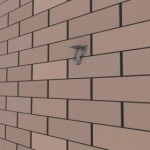
- Secure the wall bracket
-
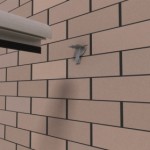
- Bring the handrail into position
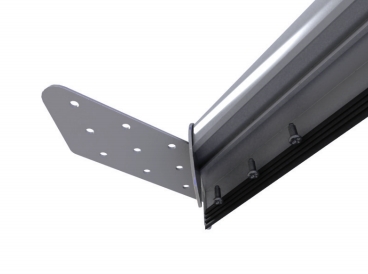
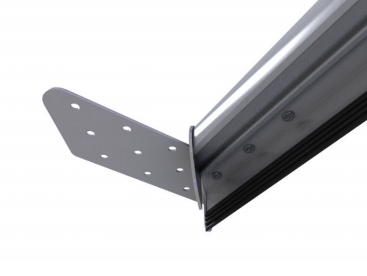
25. Drop the handrail onto the angle bracket
26. Drill 4mm holes through brackets in the handrail. Fix the handrail to the wall bracket using the No. 10 x 3/4” S/tapping screws
27. Handrail connector fits into top of post
28. Fix the post into the post connector using the M5 screw provided
-
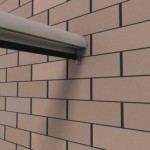
- Drop the handrail onto the angle bracket
-

- Drill holes through brackets in the handrail. Fix the handrail.
-
- Handrail connector fits into top of post
-
- Fix the post into the post connector using the M5 screw provided
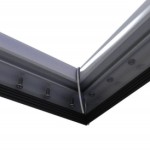
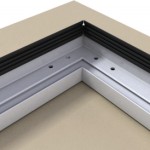
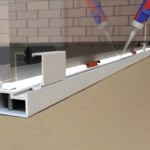
29. Prepare to assemble the bottom track
30. Slide the corner joint in one of the bottom rails. (the bottom rail corner joint is suitable on angles of 75’ to 139’)
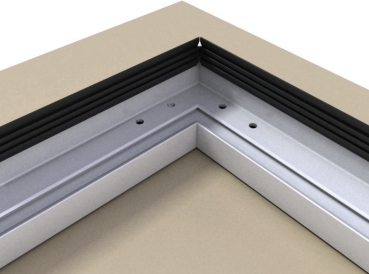
31. Insert into the other bottom rail corner
32. Tighten the screws
-
- Prepare to assemble the bottom track
-
- Slide the corner joint in one of the bottom rails
-
- Insert into the other bottom rail corner
-
- Tighten the screws
33-34. Tighten the screws
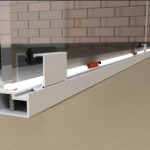
35. Correctly line up handrail and bottom rail.
36. Place the bottom track into position.
-
- Tighten the screws
-
- Tighten the screws
-
- Use these dimensions to correctly line up handrail and bottom rail.

-
- Place the bottom track into position.
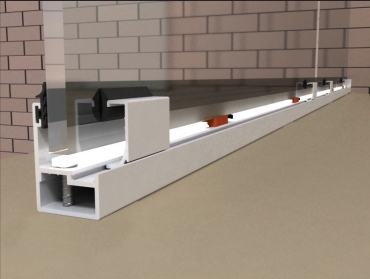
37. Drill into the floor/structure through the bottom rail to fix it.
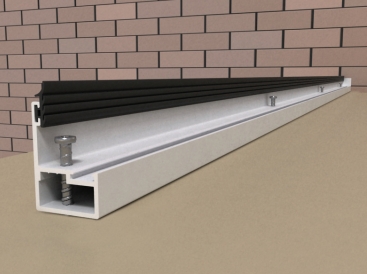
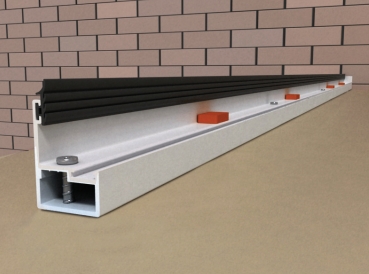
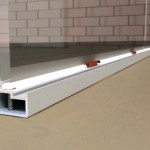
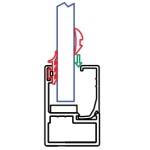
38. Place two 5mm (orange) spacers per required glass panel onto the bottom rail
39. Use silicone to stick them to the bottomrail
40. Identify glass sizes and where they are to go
-
- Drill into the structure through the bottom rail
-
- Place two 5mm (orange) spacers per required glass panel onto the bottom rail

-
- Use silicone to stick them to the bottom rail
-
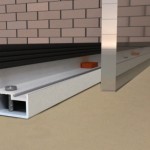
- Identify glass sizes and where they are to go
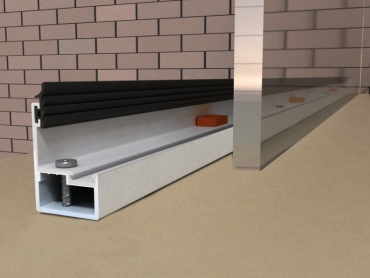
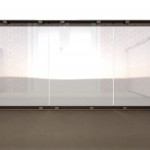
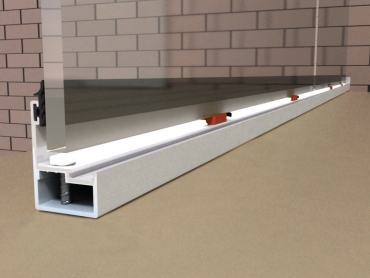
41. Place one glass panel at a time into position
42. Use the short pieces of glazing bead to temporarily hold the glass in position
43. Use 3mm rubber gaskets to hold the glass against the small bead pieces
44. Place one glass panel at a time into position
-
- Place one glass panel at a time into position
-
- Use the short pieces of glazing bead to temporarily hold the glass in position

-

- Use 3mm rubber gaskets to hold the glass against the small bead pieces

-
- Place one glass panel at a time into position
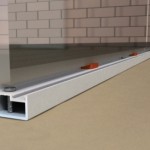
45. Place the spacers so the handrail doesn’t sit on the glass
46. Use the short pieces of glazing bead to temporarily hold the glass in position
47-48. Use 3mm rubber gaskets to hold the glass against the small bead pieces
-
- Place the spacers so the handrail doesn’t sit on the glass
-
- Use the short pieces of glazing bead to temporarily hold the glass in position
-
- Use 3mm rubber gaskets to hold the glass against the small bead pieces
-

- Use 3mm rubber gaskets to hold the glass against the small bead pieces

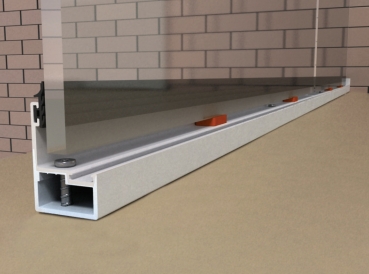
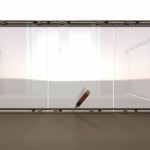
49. Align all the glass panels to have correct gaps. Use the glazing packers to lift one side or the other if needed
50. When everything lines up and all correct silicone it all.
51. Apply a thick bead of high quality silicone sealant to continuously fill the gap between bottom of glass and bottom rail
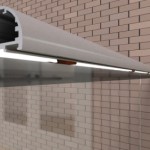
52. Apply a thick bead of high quality silicone sealant to continuously fill the gap between top of glass and handrail
-
- Align the glass panels to have correct gaps. Use the glazing packers to lift one side or the other
-
- When everything lines up and all correct silicone it all.
-
- Apply a thick bead of high quality silicone sealant to continuously fill the gap between bottom of glass and bottom rail
-
- Apply a thick bead of high quality silicone sealant to continuously fill the gap between top of glass and handrail
53-54. Wait until the silicone is completely dry
55-56. Remove the temporary glazing beads and rubber gaskets
-
- Wait until the silicone is completely dry 5
-
- Wait until the silicone is completely dry 5

-
- Remove the temporary glazing beads and rubber gaskets
-
- Remove the temporary glazing beads and rubber gaskets
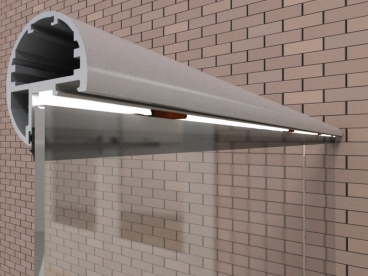
57-60. Replace the full length glazing beads
-
- Replace the full length glazing beads
-

- Replace the full length glazing beads
-
- Replace the full length glazing beads
-
- Replace the full length glazing beads
61-62. Strengthen the grip with rubber gaskets
63-64. Using soapy water can make it easier to push rubber in
-
- Strengthen the grip with rubber gaskets
-
- Strengthen the grip with rubber gaskets
-
- Using soapy water can make it easier to push rubber in
-
- Using soapy water can make it easier to push rubber in
They are good glass balustrade installers and their price does not bite.
Do you have recommended fitters for London
Many thanks
Sarah
Yes we do, please call our sales office on 01342 410411